Windows Snipping Tool: Complete Guide to Screenshots, Screen Recording, and Shortcuts
The Windows Snipping Tool is Microsoft’s built-in app for taking screenshots and recording your screen on Windows 11 and Windows 10. It supports multiple capture modes, annotations, screen recording, text extraction, and quick sharing without requiring third-party software.
Whether you’re saving information, creating tutorials, or reporting an issue, the Snipping Tool offers everything you need to capture your screen efficiently.
What Is the Windows Snipping Tool?
The Windows Snipping Tool is a free screen capture application developed by Microsoft. It allows you to capture screenshots, record your screen, annotate images, and extract text from screenshots. The app comes pre-installed on Windows 11 and most Windows 10 devices.
Using the Browser Scrolling Screenshot Extension
The Snipping Tool is available on:
Windows 11
Screenshots, screen recording, OCR, and newer features.
Windows 10
Screenshots and basic editing tools.
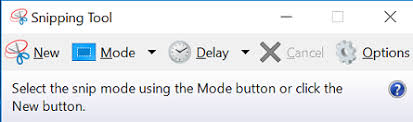
How to Open the Windows Snipping Tool
You can launch the Snipping Tool in several ways:
Keyboard Shortcut
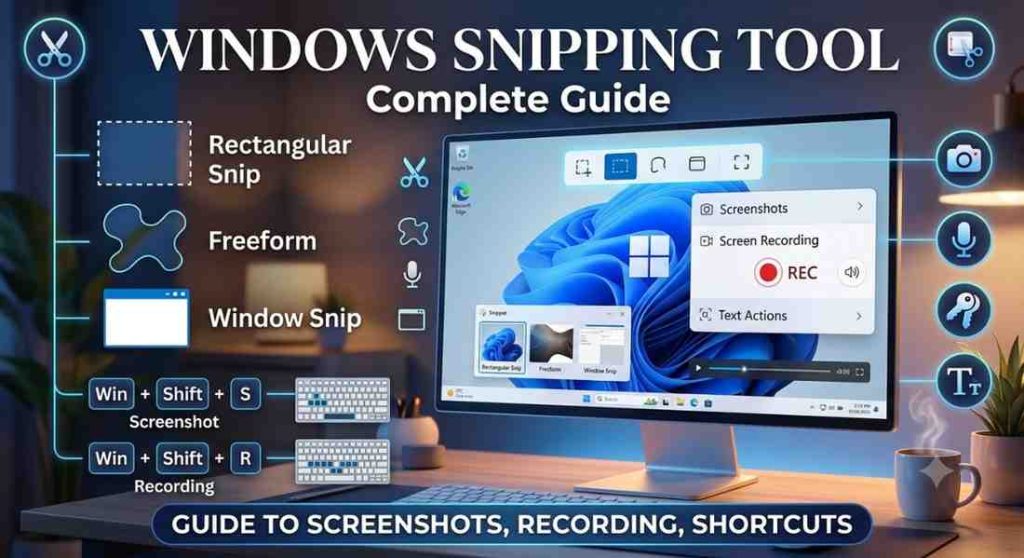
Press Windows + Shift + S to open the capture toolbar instantly.
- Start Menu
Search for Snipping Tool and open the app.
- Run Command
Press Windows + R, type snippingtool, and press Enter.
For quicker access, pin the app to your taskbar or Start menu.
What are the Screenshot Modes
The Snipping Tool provides four capture modes.
1. Rectangle Snip
Capture a rectangular portion of your screen by dragging your cursor.
2. Freeform Snip
Draw any shape around the area you want to capture.
3. Window Snip
Capture an individual application window.
4. Full-Screen Snip
Capture the entire screen in a single click.
How to Record Your Windows Screen
The Windows 11 Snipping Tool includes a built-in screen recorder.
To record your screen:
- Open the Snipping Tool.
- Select the Record tab.
- Choose the recording area.
- Click Start.
The recorder captures video without system audio. You can edit recordings later using Clipchamp if needed.
How can I Annotate Screenshots of Windows?
After capturing a screenshot, you can edit it immediately using built-in tools, including:
- Pen
- Highlighter
- Eraser
- Crop tool
These tools make it easy to highlight information, add notes, or remove unwanted areas before saving. For advanced editing, open the image in Paint.
How to Copy Text from Images
The Text Extractor feature lets you copy text directly from screenshots instead of typing it manually. It’s useful for scanned documents, presentations, receipts, and images containing text.
How to Use the Color Picker?
Some recent versions of the Snipping Tool include a Color Picker that identifies the color value of any pixel on your screen. This is helpful for design, branding, and development work.
How can I save and Share Captures?
After editing your capture, you can:
- Save it as PNG or JPG.
- Copy it to the clipboard.
- Share it with supported apps.
- Open it in Paint for further editing.
Screenshots taken with Windows + Shift + S are copied to the clipboard first, allowing you to paste them instantly with Ctrl + V.
Where Are Snipping Tool Files Saved?
By default:
- Saved screenshots are stored in Pictures > Screenshots.
- Screen recordings are stored in Videos > Screen Recordings.
- Screenshots captured with Windows + Shift + S remain on the clipboard until you save or paste them.
| Feature | Snipping Tool | Print Screen |
|---|---|---|
| Capture selected area | ✔ | ✘ |
| Capture full screen | ✔ | ✔ |
| Screen recording | ✔ | ✘ |
| Annotation tools | ✔ | ✘ |
| Delay timer | ✔ | ✘ |
| Text extraction | ✔ | ✘ |
Use the Print Screen key for quick full-screen captures. Choose the Windows Snipping Tool when you need flexible capture options, editing tools, or screen recording.
What are the Common Snipping Tool Problems
If the Snipping Tool isn’t working, try these fixes:
- Restart your computer.
- Update Windows.
- Update the Snipping Tool from the Microsoft Store.
- Repair or reset the app in Settings > Apps.
- Reinstall the application if necessary.
- Check that another program isn't overriding the Windows + Shift + S shortcut.
What Tips can I use for Faster Screenshots?
- Use Windows + Shift + S for quick captures.
- Pin the Snipping Tool to the taskbar.
- Use the delay timer to capture menus.
- Copy text with Text Extractor.
- Annotate screenshots before sharing.
- Open images in Paint for additional editing.
Key Takeaways
The Windows Snipping Tool combines screenshots, screen recording, annotations, text extraction, and multiple capture modes in one built-in application. Whether you’re using Windows 11 or Windows 10, it provides a simple way to capture, edit, and share screen content without installing third-party software. Learning its shortcuts and built-in features can make everyday tasks faster and more efficient.
FAQs (Frequently Asked Questions )
How do I get the Windows Snipping Tool?
The Snipping Tool comes pre-installed on Windows 11 and most Windows 10 devices. If it’s missing, install it from the Microsoft Store.
What is the shortcut key for the Snipping Tool?
The default shortcut is Windows + Shift + S.
Why isn't Windows + Shift + S working?
Restart your computer, update Windows, repair the Snipping Tool, or check whether another application has overridden the shortcut.
Where do Windows + Shift + S screenshots go?
They are copied to the clipboard first. Once saved, they’re typically stored in Pictures > Screenshots.
Is Windows + Shift + S the Snipping Tool?
Yes. This shortcut opens the Snipping Tool’s capture toolbar.
How do I take a screenshot without Windows + Shift + S?
You can use the Print Screen (PrtScn) key, Alt + PrtScn for the active window, or launch the Snipping Tool from the Start menu.
Why doesn't my PC have the Snipping Tool?
Some Windows installations don’t include it by default. Download or reinstall it from the Microsoft Store.
How do I enable the Snipping Tool in Windows 10?
Search for Snipping Tool in the Start menu. If it isn’t available, install or update it through the Microsoft Store.